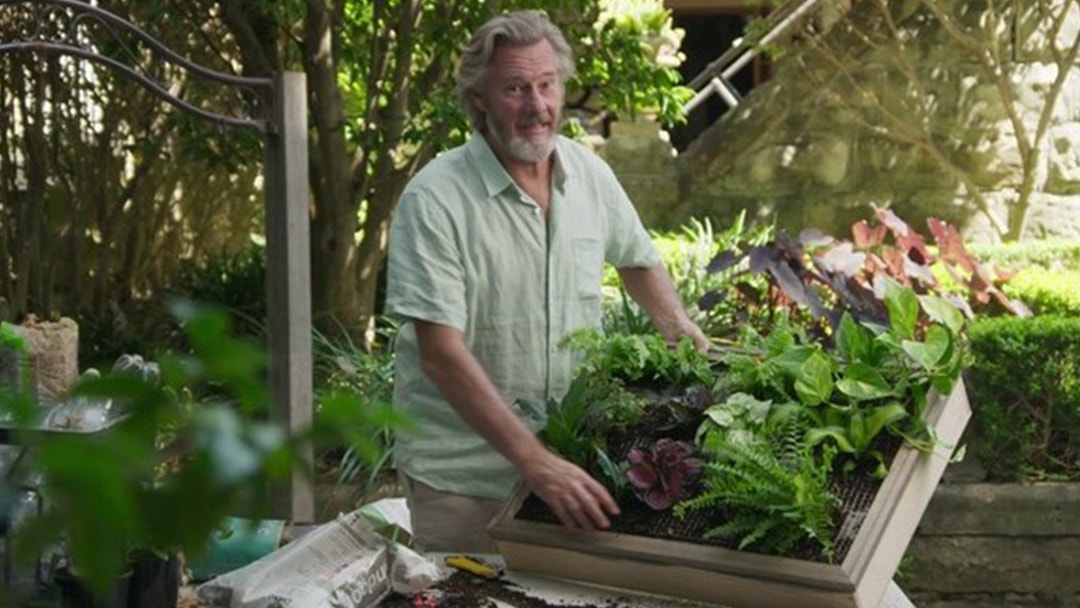
Baz brings the outdoors in by demonstrating how to make a fabulous vertical garden to hang on your wall
Materials
Old picture frame
Marine plywood 9mm
12mm pine
Sealant
Staple gun
Caulking gun
Empty plastic bottle
Plants
Soil
Perlite
Peat moss
Chicken wire
Geo textile fabric
Screws
Hammer
Nails
PVA wood glue
Instructions
Find an old picture frame. Ours is 70cm x 50cm.
Lay your frame on top of the marine ply. Trace around the frame and cut to size.
Collect all your plants and arrange them on top of the ply in the same way you would like to display them. When you have a configuration you like, take a photo and trace around each pot. We do this so we know the size of each pot once plants are removed.
Take all plants off the ply.
Using your ply board as a guide cut 4 pieces of pine to create retaining walls. Glue the edge of each piece before screwing them together. Make sure to wipe away any excess glue.
Once retaining walls are assembled attach the ply to the back with screws.
Now you’ve created a box that will hold all components nice and neatly, use your calking gun and silicone sealant to seal all corners and edges to make sure it is leak proof.
Pick plastic bottles that are the closest in size to you pots or just a little bit bigger. Cut each bottle at a 45-degree angle from center to top. Repeat as many times as needed for all plants.
With the bottles cut in half we need to drill out some drainage holes at the bottom of each bottle. Anything between 3-5 holes is ideal.
Add a layer of peat moss to each botte to help with drainage. Also add some perlite to the soil to help maintain moisture.
Lay the chicken wire over the top of the box. Using the markings you made in step 3, cut out sections from the wire allowing your plants to come through.
Place a layer of geofabric under the wire, cut X's in the fabric where sections of the wire are cut out.
Staple each bottle down to the ply following the markings you made at in step 3. Make sure to align the open top of the botte with your markings.
Put the geofabric and wire on top of the box. Line the frame up on top of all components and nail into place.
With the construction done it is now time to add your plants. Don’t forget to use the photo you took at the beginning to make sure everything fits just how you want it to.